
Paper Cup Machine: 7 Common Problems and How to Fix Them
Understand the forming process, materials and sealing parameters, diagnose seven common production problems, and plan investment and machine selection using the ZBJ-OC12 and ZBJ-DP35 comparison.
Leaking seams, uneven rims and feeding faults reduce saleable output even when a paper cup machine reaches its rated speed. This guide connects the forming process and material specifications to seven practical diagnostic checks, then explains investment calculations and machine selection. Start with evidence from samples and production records, not a universal sealing recipe.
1. Production quality: what your customers need
A usable cup must hold its intended contents, keep its shape and stack consistently. For cafés, foodservice buyers and packaging distributors, repeatable quality matters more than a headline speed. Define hot or cold use, filling temperature, holding time, lid fit and packaging requirements with the buyer before specifying the machine.
Seal integrity
Validate side seams and bottom seals using an agreed test for the intended contents and holding time.
Consistent geometry
Control rim shape, cup dimensions and lid fit against approved samples rather than nominal capacity alone.
Reliable delivery
Plan orders around accepted cups, stable stacking and packaging capacity, not just the machine counter.
This guide is for converters troubleshooting an existing line and buyers defining a new one. Validate customer demand, food-contact documentation and local requirements separately; a market forecast or a proposed law is not evidence that a particular cup will sell or meet requirements.
2. What the machine does — and why making is not filling
A paper cup machine forms the sidewall from pre-cut fan-shaped blanks and feeds the bottom from a paper roll. The fan blank wraps around the forming tool and its side seam is sealed; the roll-fed bottom is punched, inserted, heated and knurled against the body. Rim curling, counting and collection follow. The process is not entirely roll-free.
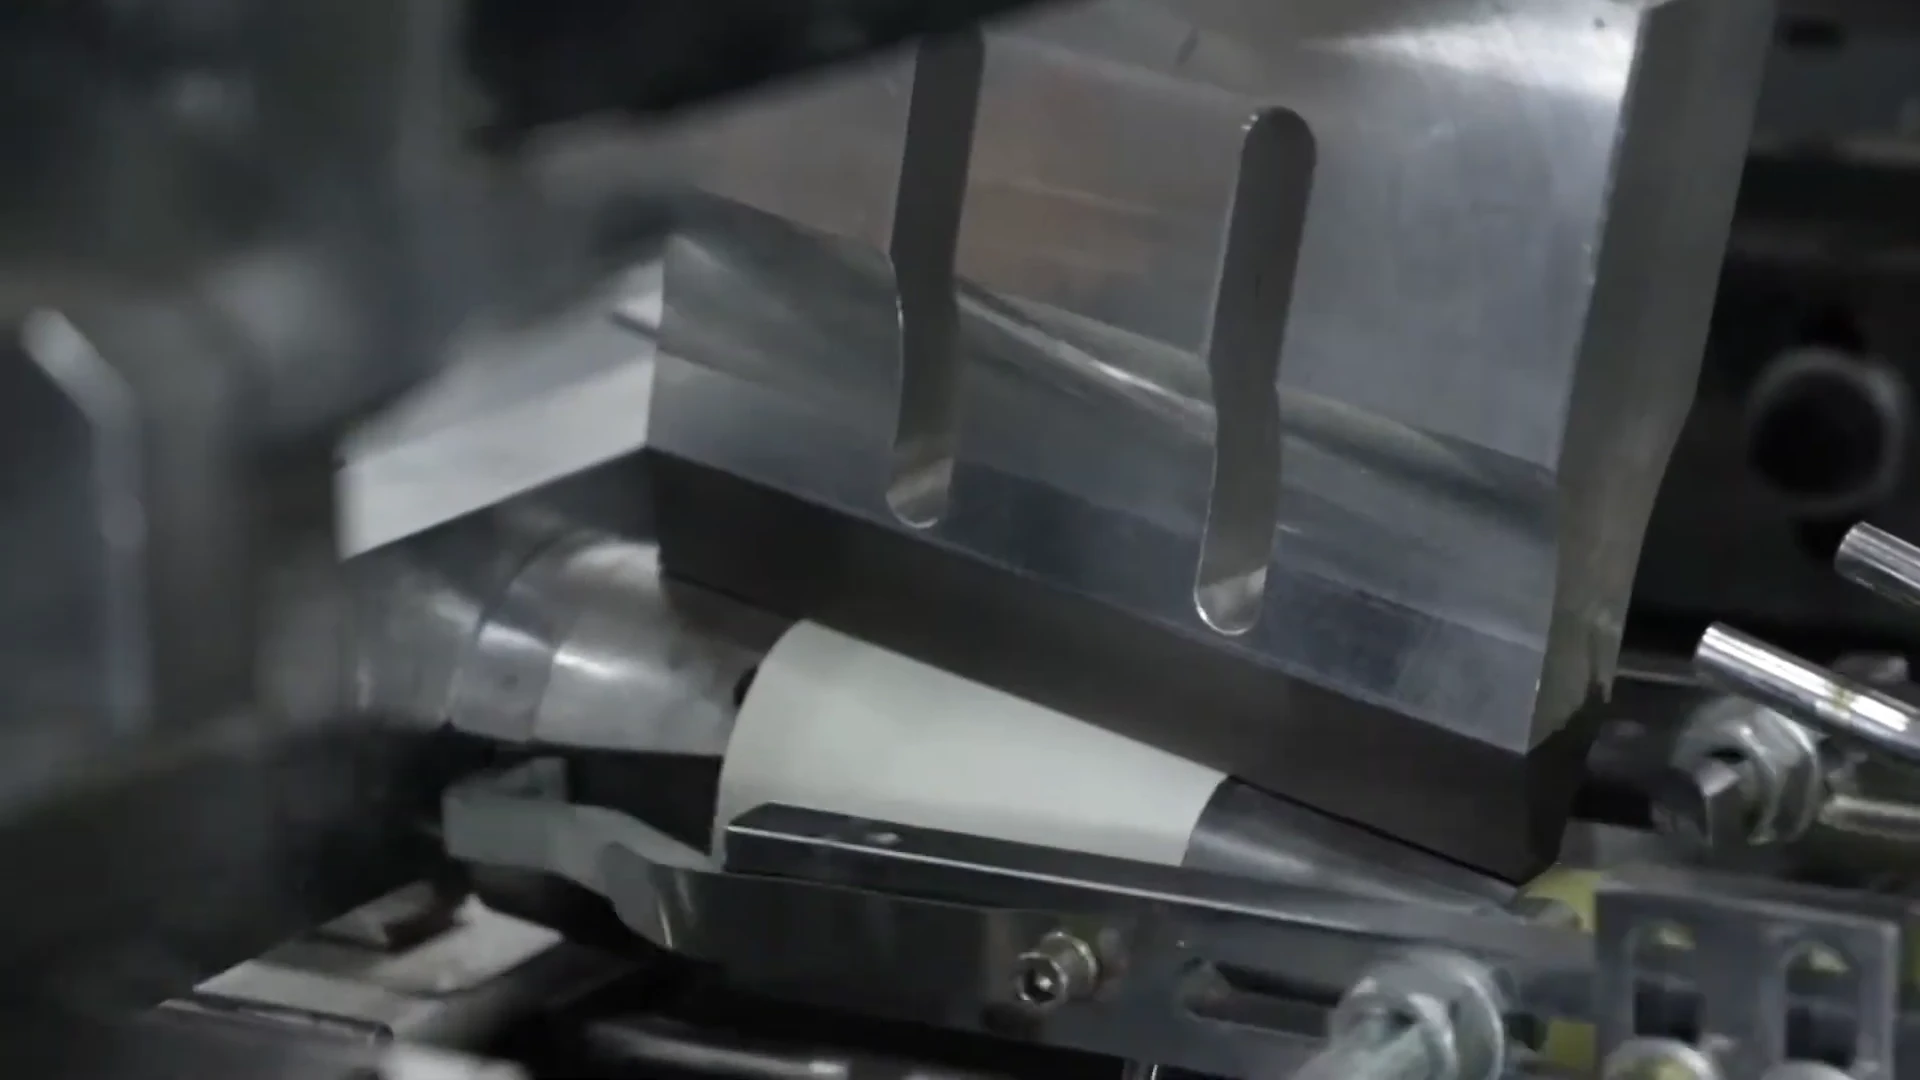
The machine is the heart, but not the whole line. Paper cup production goes through: PE-coated paper → printing → die-cutting → cup forming → collection and packaging. Each stage has its own equipment; the “cup machine” is the forming stage.
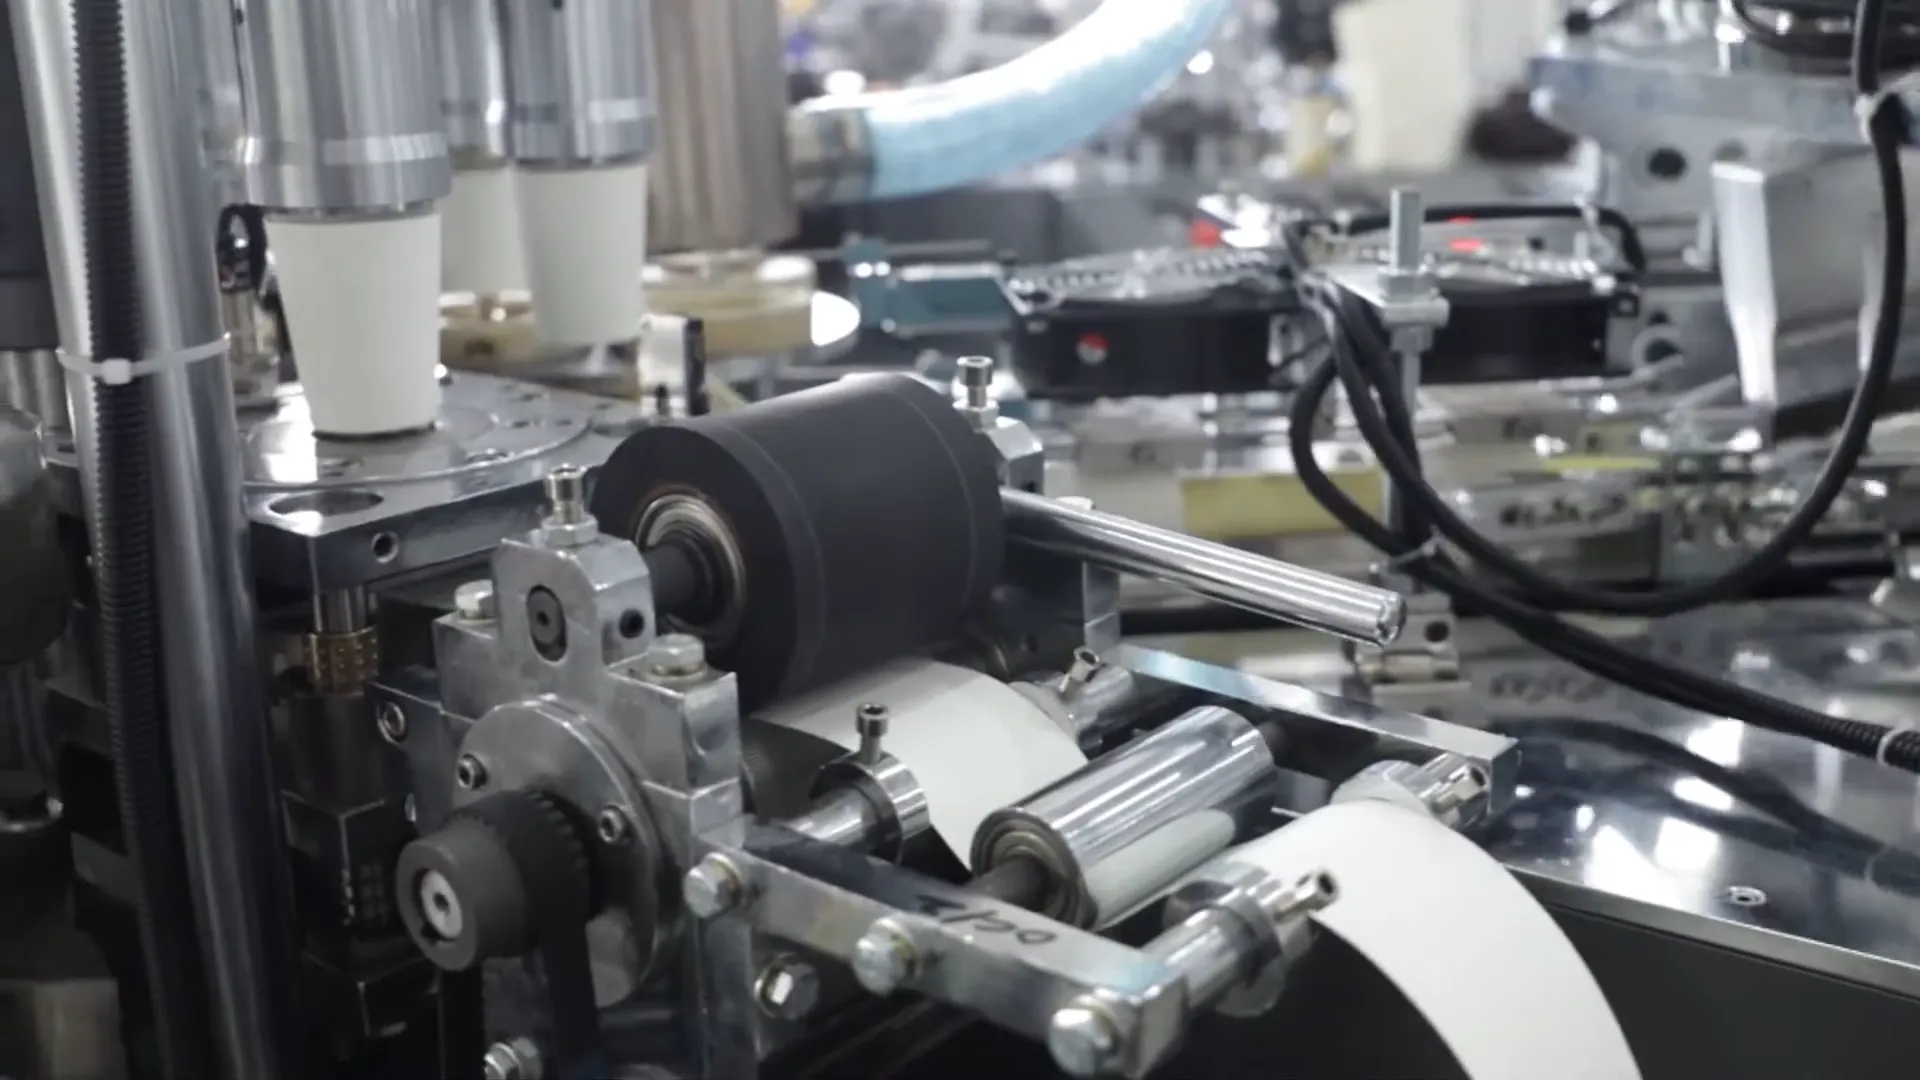
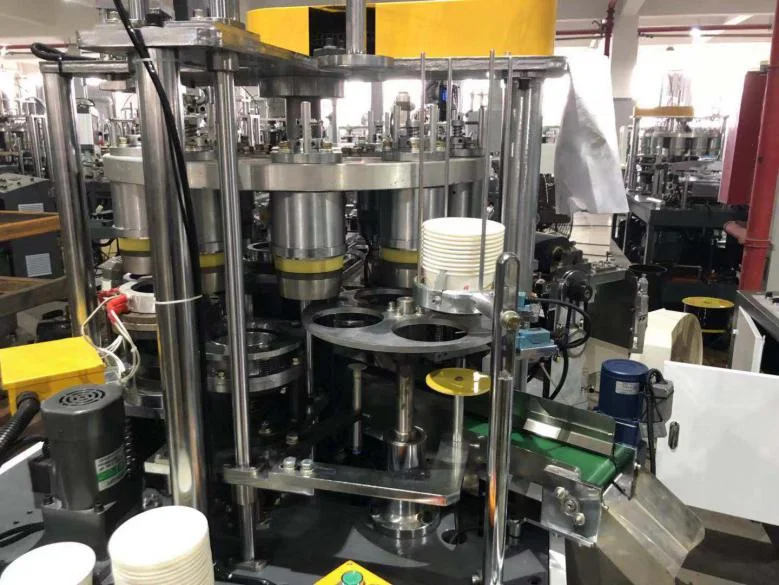
Here is an expensive confusion for beginners: making the cup is different from filling the product. The paper cup machine makes the empty container. Filling means pouring a drink or food into the cup — and requires another kind of equipment. If you want to sell empty packaging, you need the cup machine; if you want to launch a ready product (such as to-go coffee), you will need a filling solution on top of the packaging. Defining this before quoting avoids buying the wrong equipment.
3. Materials and sealing parameters: establish a tested process window
Record the paper supplier and batch, single-sided or double-sided PE coating, coating specification, paper weight in g/m², fan-blank dimensions and bottom-roll width. Check the material technical data sheet (TDS), food-contact documentation and machine manual before trials. Paper stiffness, moisture and coating condition can change forming and sealing performance.
Match the coating to the beverage: single-sided PE suits cold drinks, where only the inner wall must be waterproof; double-sided PE suits hot drinks, adding outer condensation resistance and often required above 90 °C. Confirm the coated side against the cup drawing before trials.
Use the material TDS, the manual for the exact machine configuration and sample trials to establish settings. There is no universal sealing temperature or ultrasonic setting. Compare temperature, contact time, pressure and speed against an approved baseline; record model-specific ultrasonic settings only as instructed by the manufacturer. Change one variable at a time within approved limits, identify the samples and repeat leak, rim and dimensional checks before accepting a change.
Before inspecting tooling, clearing a jam or performing mechanical maintenance, stop the machine, isolate all energy sources, release stored energy and allow hot parts to cool according to the manual. Only trained personnel should perform these tasks. Do not bypass guards, sensors or interlocks; make process adjustments only through the approved controls and procedures.
4. Seven common paper cup problems: diagnosis and correction
The entries below are possible causes, not confirmed root causes. Retain defective samples, note the material batch and settings, and locate the first station where the defect appears. Use the safe shutdown procedure in section 3 before any physical inspection or mechanical correction. Do not reach into running equipment or override a safety device.
| Symptom | Possible cause | First check | Correction |
|---|---|---|---|
| Side-seam leakage | Incorrect overlap, contaminated coating or an unsuitable sealing setup. | Locate the leak on a retained sample; compare overlap, batch and settings with the approved sample. | Restore blank alignment and clean tooling using the manual; validate the sealing window with one-variable trials. See the leakage FAQ. |
| Bottom leakage | Off-center bottom, uneven knurling or a mismatch between material and bottom sealing conditions. | Compare the bottom position and knurl pattern around the sample; review hot-air and cooling records. | Have trained personnel correct bottom positioning and tooling condition, then trial the approved heat, contact time and pressure range. See how the two sealing processes work together. |
| Uneven rim curling | Blank-height variation, damaged curling tools or unsuitable forming conditions. | Measure the blank and finished rim against the drawing; inspect tools only after safe shutdown. | Replace out-of-spec blanks and have tooling restored to the manual specification; verify rim and lid fit. Check dimensions and molds. |
| Double feeding or misaligned blanks | Sticking or warped blanks, incorrect separation or guide setup. | Check blank flatness, storage history and the approved feeder setup after safe shutdown. | Use conforming blanks and reset separation and guides per the manual; verify single-blank feeding in a guarded trial. See the paper requirements. |
| Deformed cup body | Material stiffness mismatch, incompatible tooling or excessive forming stress. | Compare paper weight, cup dimensions and tool identification with the approved job specification. | Correct material or tooling mismatch before trialing approved forming settings; confirm machine and mold compatibility. |
| Bottom-paper feed misalignment | Incorrect roll width, tracking, tension or feed timing. | Compare the roll and punched bottom with the drawing; inspect the feed path after isolation and cooling. | Use the specified bottom roll and have trained personnel restore tracking and feed timing per the manual. Include roll details in the technical inquiry. |
| Counting or stacking faults | Dirty or misaligned sensors, inconsistent cup geometry or collector setup. | Compare an independently counted sample with the counter and inspect stack shape; isolate before sensor or collector access. | Clean and align sensors and set the collector per the manual; resolve cup-shape faults and verify repeated counts. Use accepted counts in the output calculation. |
After correction, run the manufacturer’s guarded restart procedure, segregate trial cups and repeat the agreed quality tests before releasing production. Escalate recurring defects to technical support with samples and process records rather than increasing settings blindly.
5. Investment, saleable output, payback and ROI
Budget the installed operation rather than the machine alone. Obtain itemized quotations and local cost estimates; do not assume molds, utilities or commissioning are included.
| Cost item | What to confirm |
|---|---|
| Machine | Configuration, acceptance trials, warranty and included accessories. |
| Molds and change parts | Included sizes and additional tooling for each approved drawing. |
| Compressed air | Compressor, treatment, distribution and operating cost; listed demand is 0.4 MPa / 0.6 m³/min. |
| Installation and commissioning | Site preparation, electrical compatibility, training and service travel. |
| Import taxes and charges | Applicable duties, taxes and customs costs confirmed locally. |
| Logistics | Freight, insurance, handling and delivery to the production site. |
| Working capital | Paper inventory, packaging, wages, energy, maintenance and customer payment terms. |
Saleable good cups = speed × planned minutes × operating rate × quality yield. Use pcs/min, define operating rate as running time divided by planned time, and quality yield as accepted cups divided by total formed cups. Validate these rates with trials and production records; nominal speed is not guaranteed shift output.
Payback (months) = total investment / monthly net cash flow. This simple estimate assumes positive, representative monthly net cash flow after recurring cash costs. If cash flow varies, use cumulative cash flow instead; zero or negative cash flow does not provide a finite payback under this formula.
ROI for a stated period = net profit during that period / total investment (multiply by 100 for a percentage). State the period and profit basis explicitly. Profit is not the same as cash flow. Include rejects, downtime, paper, labor, energy, maintenance and other relevant costs in the appropriate calculation; no payback time or return is guaranteed.
6. Machine selection: process, dimensions, materials and molds
Compare the sealing principles first: on these machines, side ultrasonic sealing and bottom hot-air sealing are complementary functions, not alternatives. Confirm the configuration for your coating and cup drawing before comparing nominal capacities.
| Process | Where | How it works | Result |
|---|---|---|---|
| Ultrasonic sealing | Side of the cup | High-frequency vibration fuses the PE paper edges, with no glue | Firm, uniform and durable seal |
| Hot air + bottom knurling | Bottom of the cup | Heats the PE and presses the bottom against the body | Bottom seal; double-sided PE requires water cooling |
These machines combine side ultrasonic sealing with bottom hot air and knurling. The double-sided PE configuration includes bottom water cooling; confirm the cooling equipment and utility requirements in the quotation. Seal quality still requires material compatibility, correct tooling and validated settings.
ZBJ-OC12 vs. ZBJ-DP35: manufacturer specifications
SAGLIN has two forming models with an open cam, sharing the same architecture — ultrasonic sealing, PLC + HMI, sensors on every process and automatic lubrication — but serving different formats.
| Parameter | ZBJ-OC12 (cups) | ZBJ-DP35 (bowls) |
|---|---|---|
| Capacity | 3–16 oz | 10–50 oz |
| Speed | 70–80 pcs/min | 60–80 pcs/min |
| Top diameter | 45–90 mm | 95–150 mm |
| Bottom diameter | 35–72 mm | 75–130 mm |
| Height | 40–136 mm | 50–135 mm |
| Compressed air | 0.4 MPa / 0.6 m³/min | 0.4 MPa / 0.6 m³/min |
| Listed electrical supply | 380 V, 50 Hz, three-phase | 380 V, 50 Hz, three-phase |
| Paper weight | 180–350 g/m² | 170–450 g/m² |
| Total power | 10 kW | 14 kW |
| Highlight | Integrated cup collector | 8-station rotary table |
Specifications above are from the manufacturer’s product data and remain subject to final configuration confirmation. Listed ranges do not mean every combination is feasible. The listed supply is 380 V, 50 Hz, three-phase; do not assume compatibility with Brazil’s 60 Hz supply. Confirm voltage, frequency and the required electrical configuration in writing when requesting a quote.


The ZBJ-OC12 includes an integrated cup collector; the ZBJ-DP35 uses an 8-station rotary table for larger formats. Staffing, speed and yield must be validated for the actual job rather than inferred from these features.
- Do not select by oz alone. Submit top diameter, bottom diameter, height, rim profile and lid requirements; verify all dimensions together against the machine and tooling.
- Verify materials and molds. Confirm paper weight, single-sided or double-sided PE, fan drawing, bottom roll and the mold/change-part set for each format.
- Trial before acceptance. Agree on representative material, quality tests, saleable output, changeover requirements and collection performance.
- Confirm site utilities and support. Check electrical frequency, compressed air, cooling, installation, training and maintenance access with the supplier.
7. Frequently asked questions about paper cups
The questions we hear most from entrepreneurs and converters evaluating this market:
How much does a paper cup machine cost?
Price depends on the confirmed model, tooling and configuration. Request an itemized quote including molds, compressed air, installation, import taxes, logistics and working capital. Compare total installed investment and operating costs rather than the machine price alone; no fixed price or payback period is assumed here.
What paper does a paper cup machine use?
These models use compatible single-sided or double-sided PE-coated paper: fan-shaped blanks for the sidewall and a paper roll for the bottom. Confirm paper weight, coating, blank dimensions and bottom-roll specification against the material TDS, machine manual and sample trials. Double-sided PE requires the appropriate bottom water-cooling configuration.
Why do paper cups leak, and what should I check first?
First locate whether the leak is at the side seam or bottom and compare the sample, material batch and settings with an approved baseline. Alignment, coating condition and sealing conditions are possible causes, not confirmed root causes. Stop, isolate energy and allow cooling before physical inspection; follow the manual and change one process variable at a time during approved trials.
How do I estimate saleable production capacity?
Saleable good cups = speed × planned minutes × operating rate × quality yield. Use measured running time and accepted-cup rates for the actual material and format. The listed speeds are 70–80 pcs/min for ZBJ-OC12 and 60–80 pcs/min for ZBJ-DP35; they do not guarantee shift output, profit or a payback period.
What is the difference between ultrasonic and thermal sealing?
On these machines, ultrasonic sealing uses high-frequency vibration at the side seam, while hot air and knurling seal the bottom. They are complementary functions, not an either-or choice. Double-sided PE uses the bottom water-cooling configuration. Determine settings from the material TDS, the specific machine manual and validated samples, not a universal temperature or ultrasonic recipe.
Which machine should I choose: ZBJ-OC12 or ZBJ-DP35?
Use the ZBJ-OC12 range of 3–16 oz and ZBJ-DP35 range of 10–50 oz only as a starting point. Confirm top and bottom diameters, height, paper weight, coating and compatible molds together with the manufacturer. Approve samples and final utilities, including the required 60 Hz configuration for a Brazilian site; nominal oz alone is not enough.
What should I send when requesting a quote or troubleshooting support?
Send the cup drawing with top and bottom diameters and height, intended contents and use, paper weight and coating TDS, fan-blank and bottom-roll specifications, target saleable output and site utilities. For faults, also send the machine model, material batch, settings, defect samples and safe-to-capture photos. Ask for tooling, trials, cooling, electrical frequency and supply scope to be confirmed in writing.
A reliable production plan connects approved materials, repeatable settings, safe maintenance and measured accepted output. Resolve the specific defect before increasing speed or committing to a larger machine.
For a configuration review or help with a recurring fault, talk to our engineers with the drawings, samples and process records listed above.
Ready to enter the paper cup market?
Get a model recommendation and a quote for the right machine for your production volume.
Request Free Evaluation
